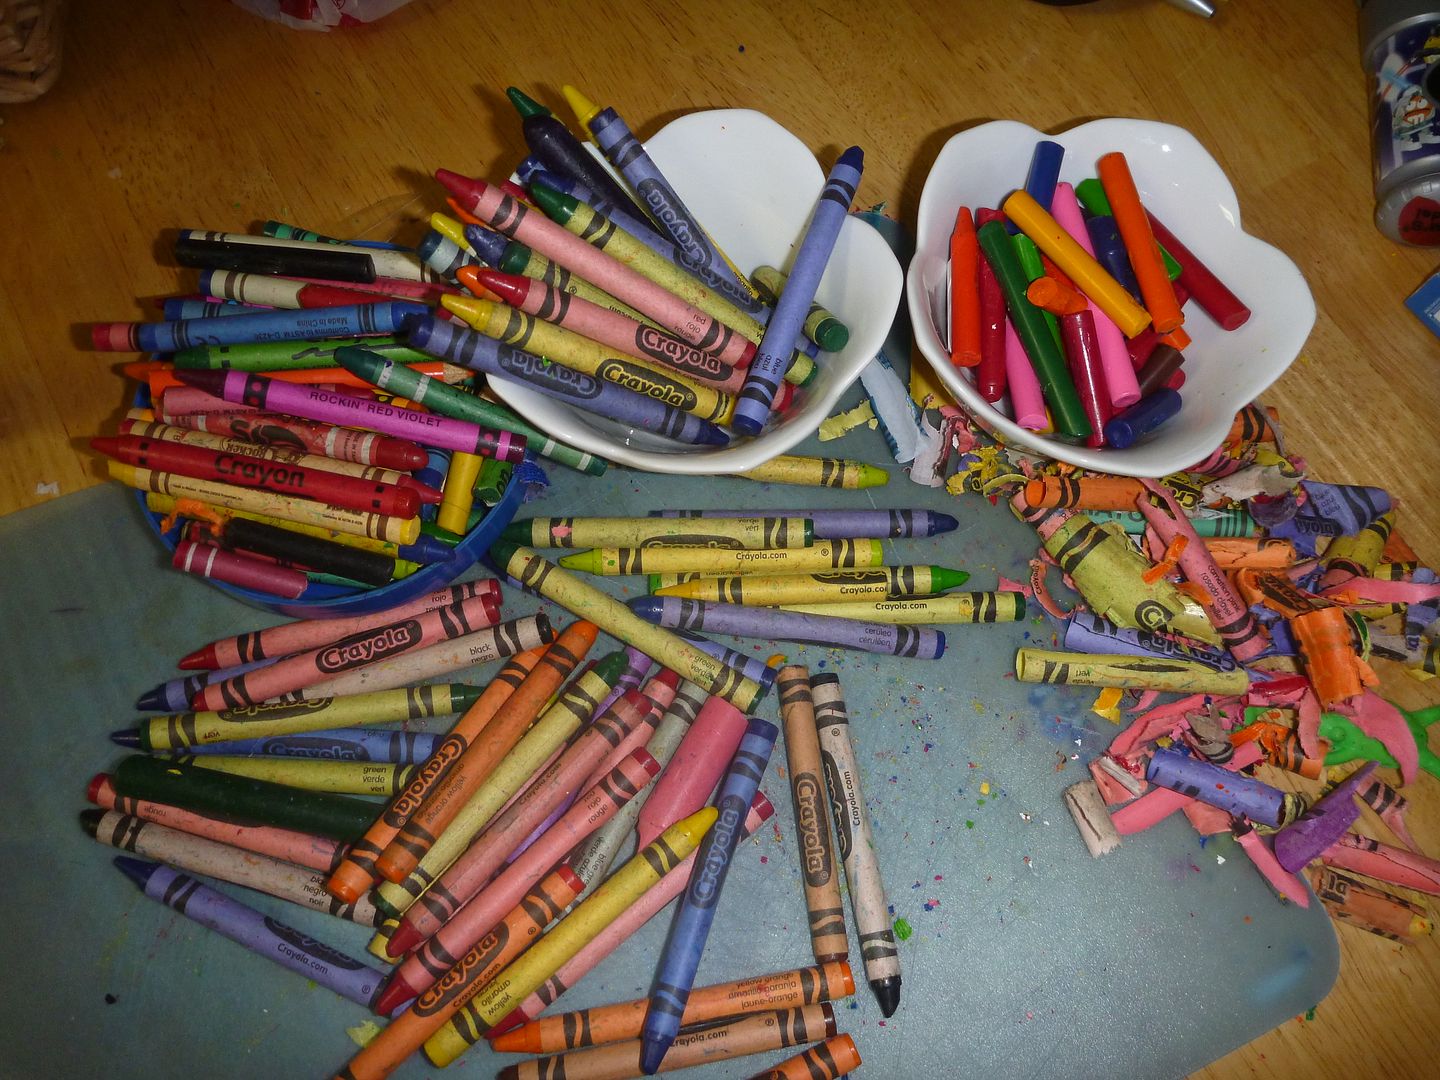
First, I sorted the crayons into Crayola crayons and the offbrand ones. I wasn't sure whether it made a difference but I didn't want to mix them, just in case. I then took the paper off of each of them. This took the longest time.
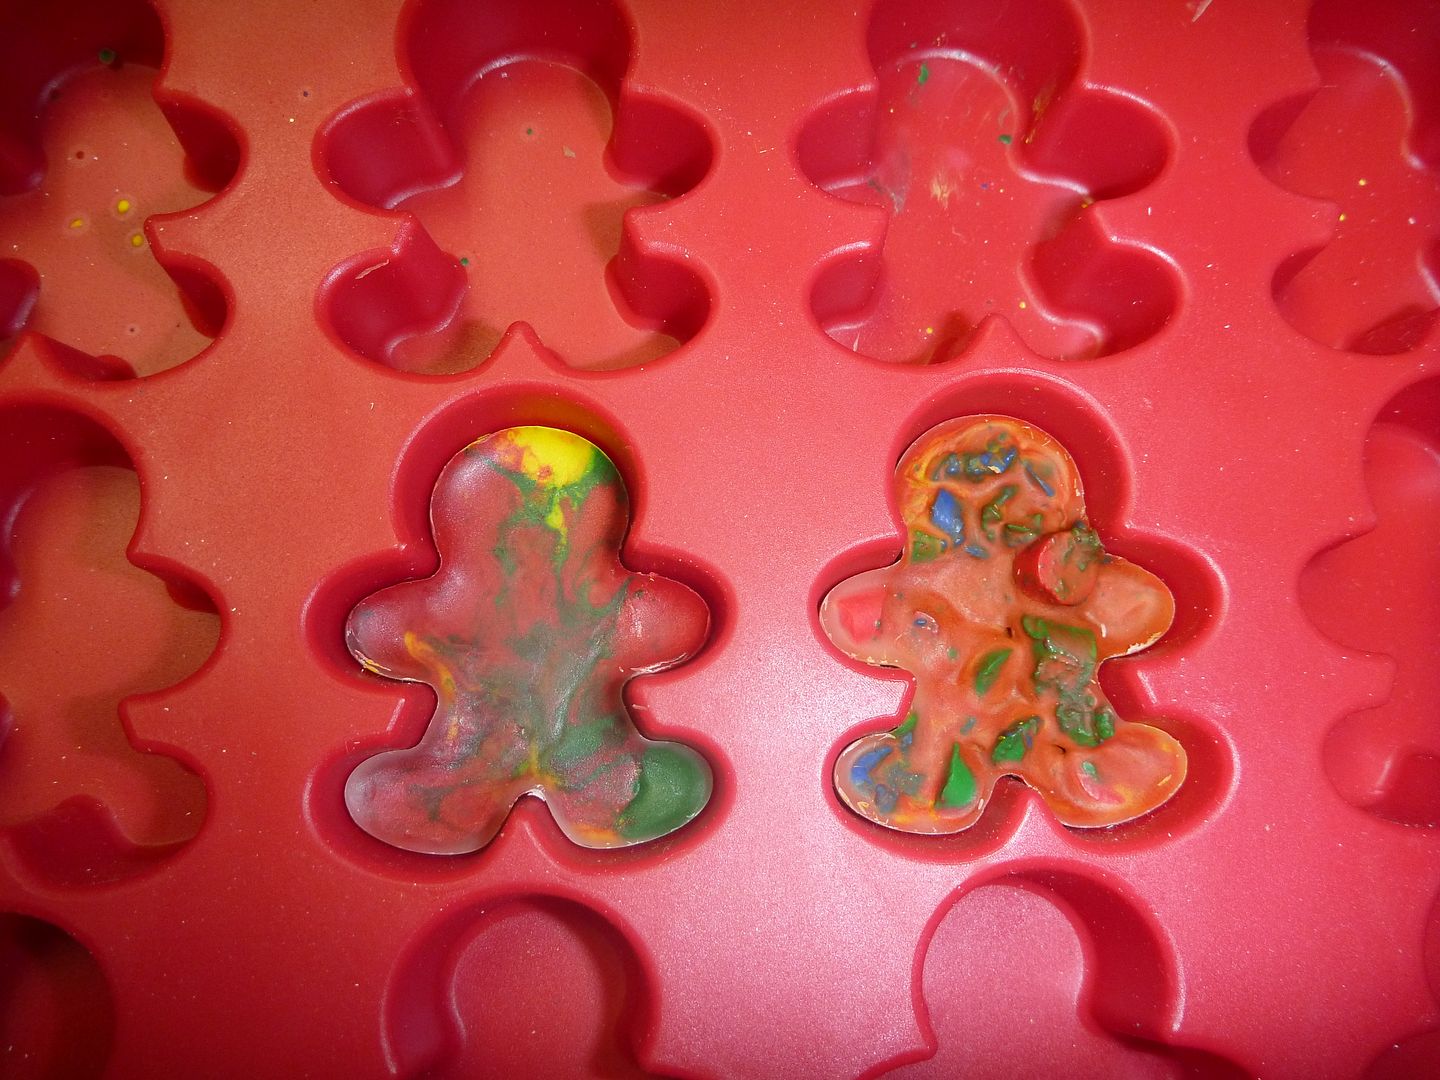
I did a 'test' by melting Crayola crayon pieces next to generic crayon pices just to see if there were a difference. There was! I decided to only use Crayola crayons for this project. The Crayola one is on the left and the generic one is on the right.
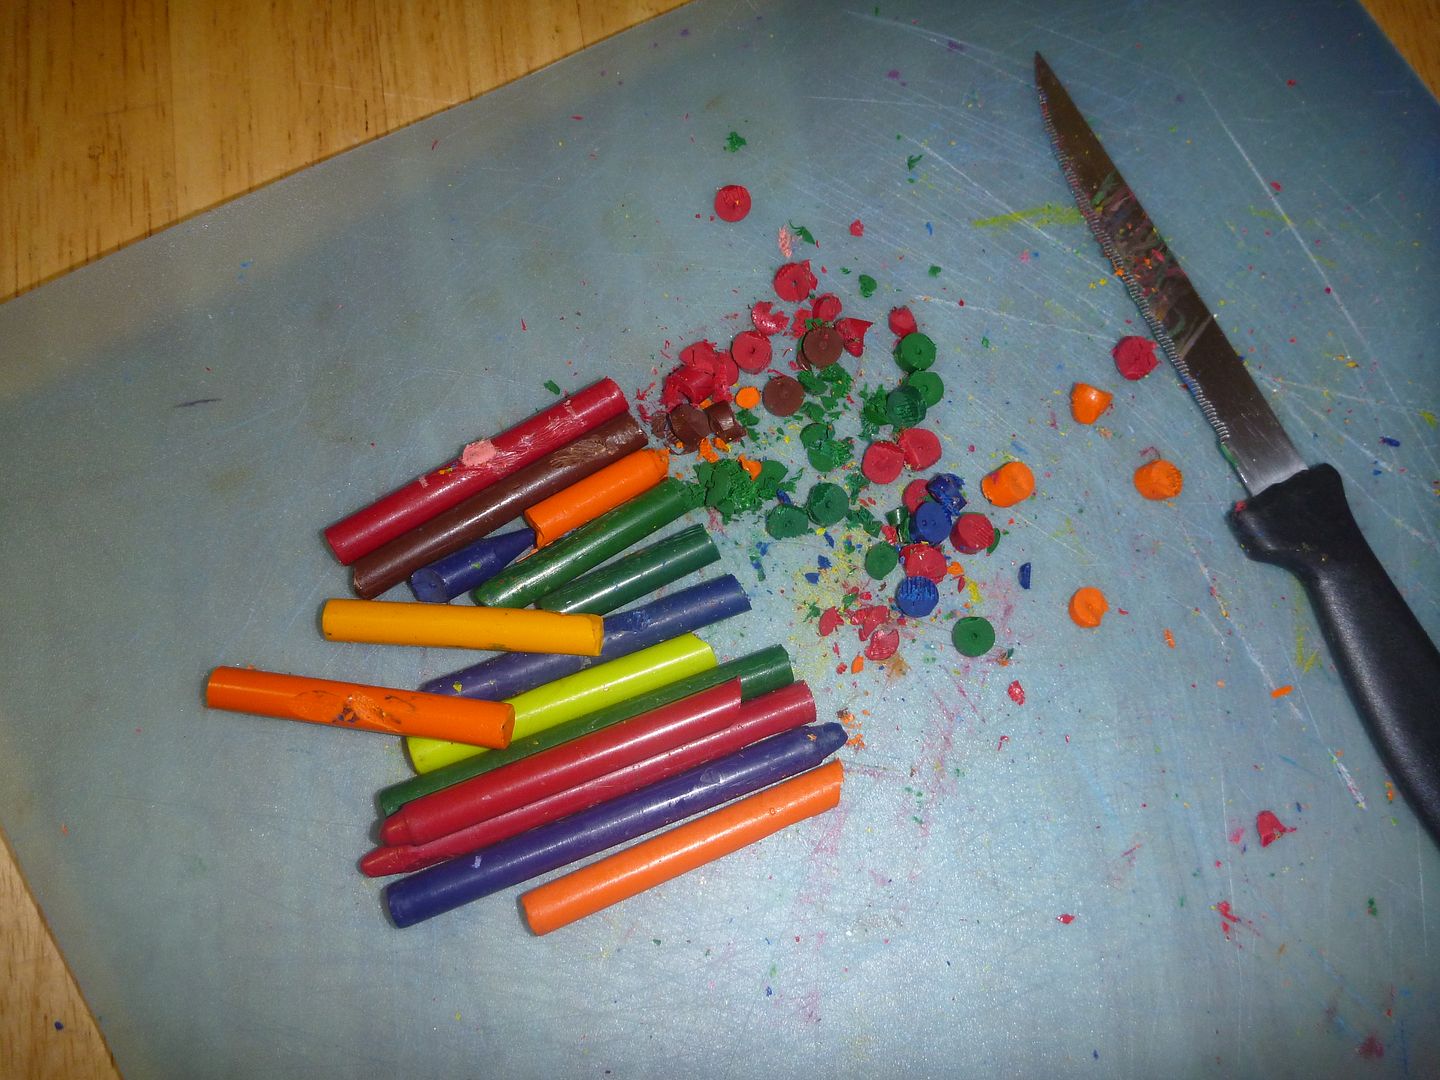
Next, I cut my Crayola crayons into tiny pieces.
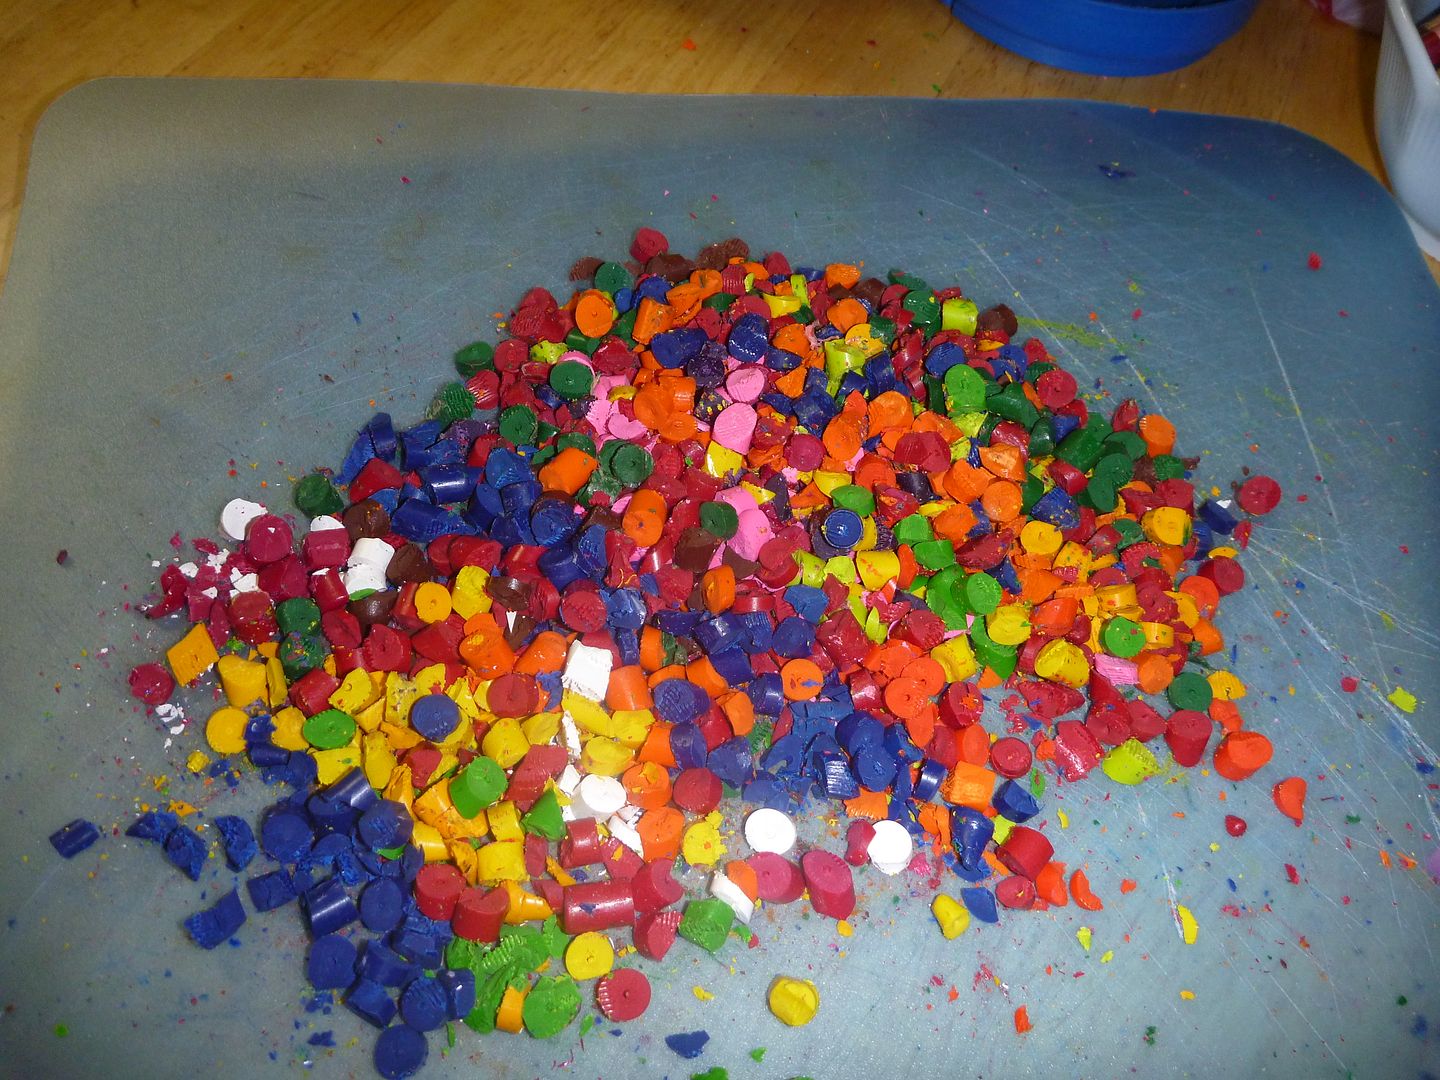
Here's one pile I made.
I then put all the pieces into the molds.
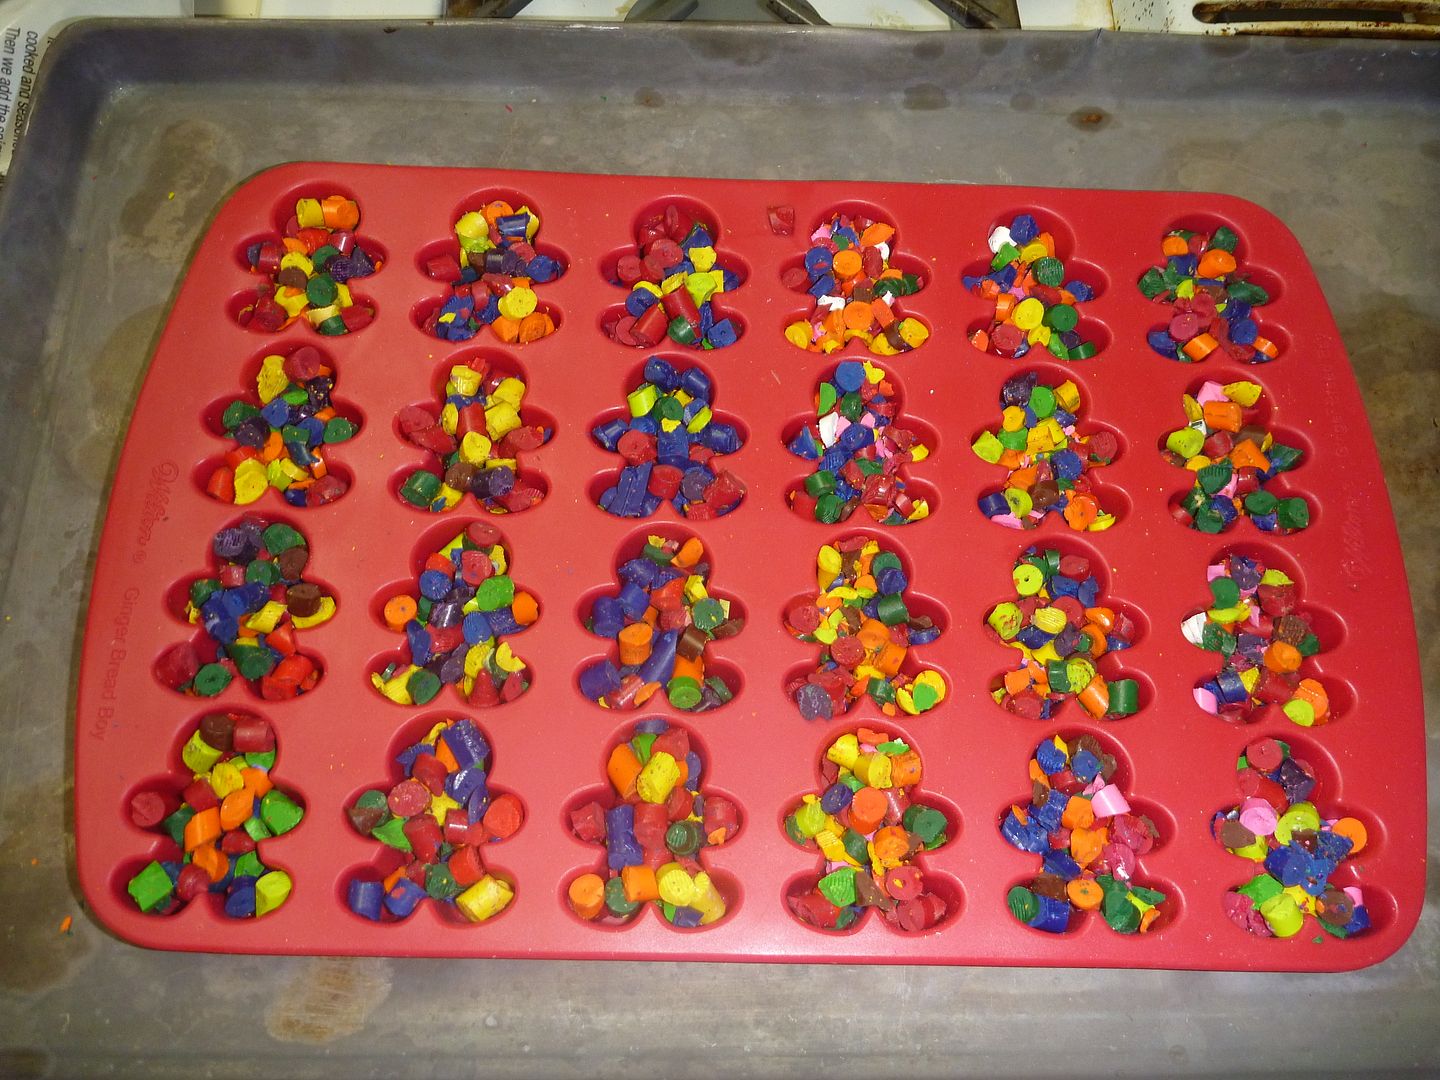
I then baked them at 230 degrees for 15 minutes.
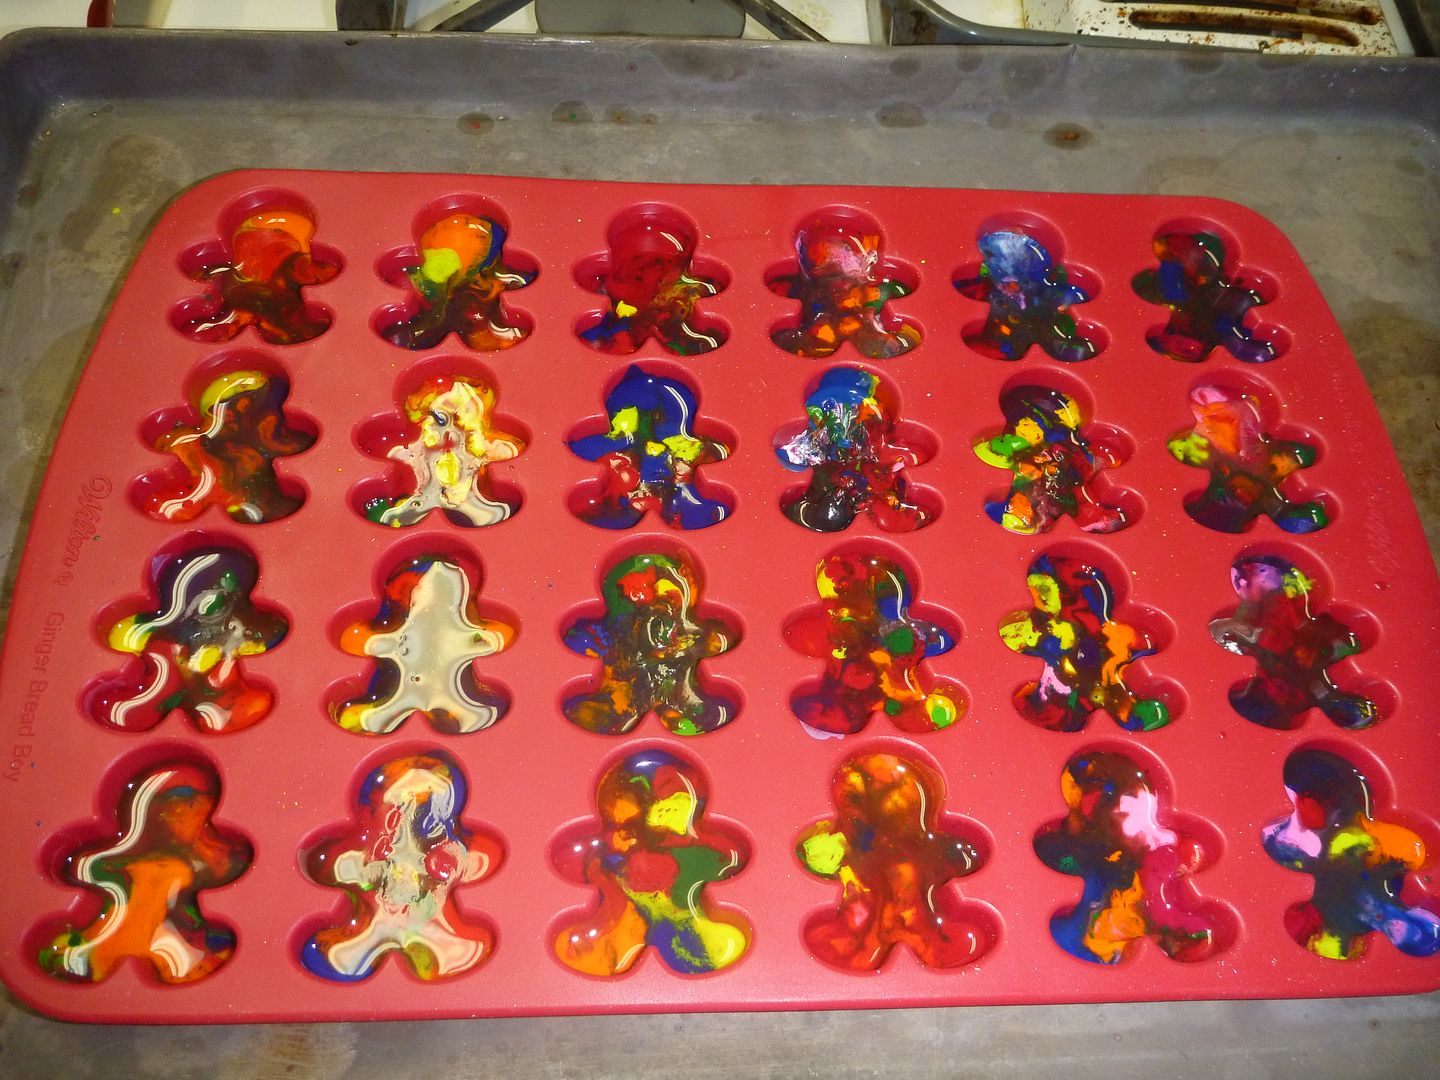
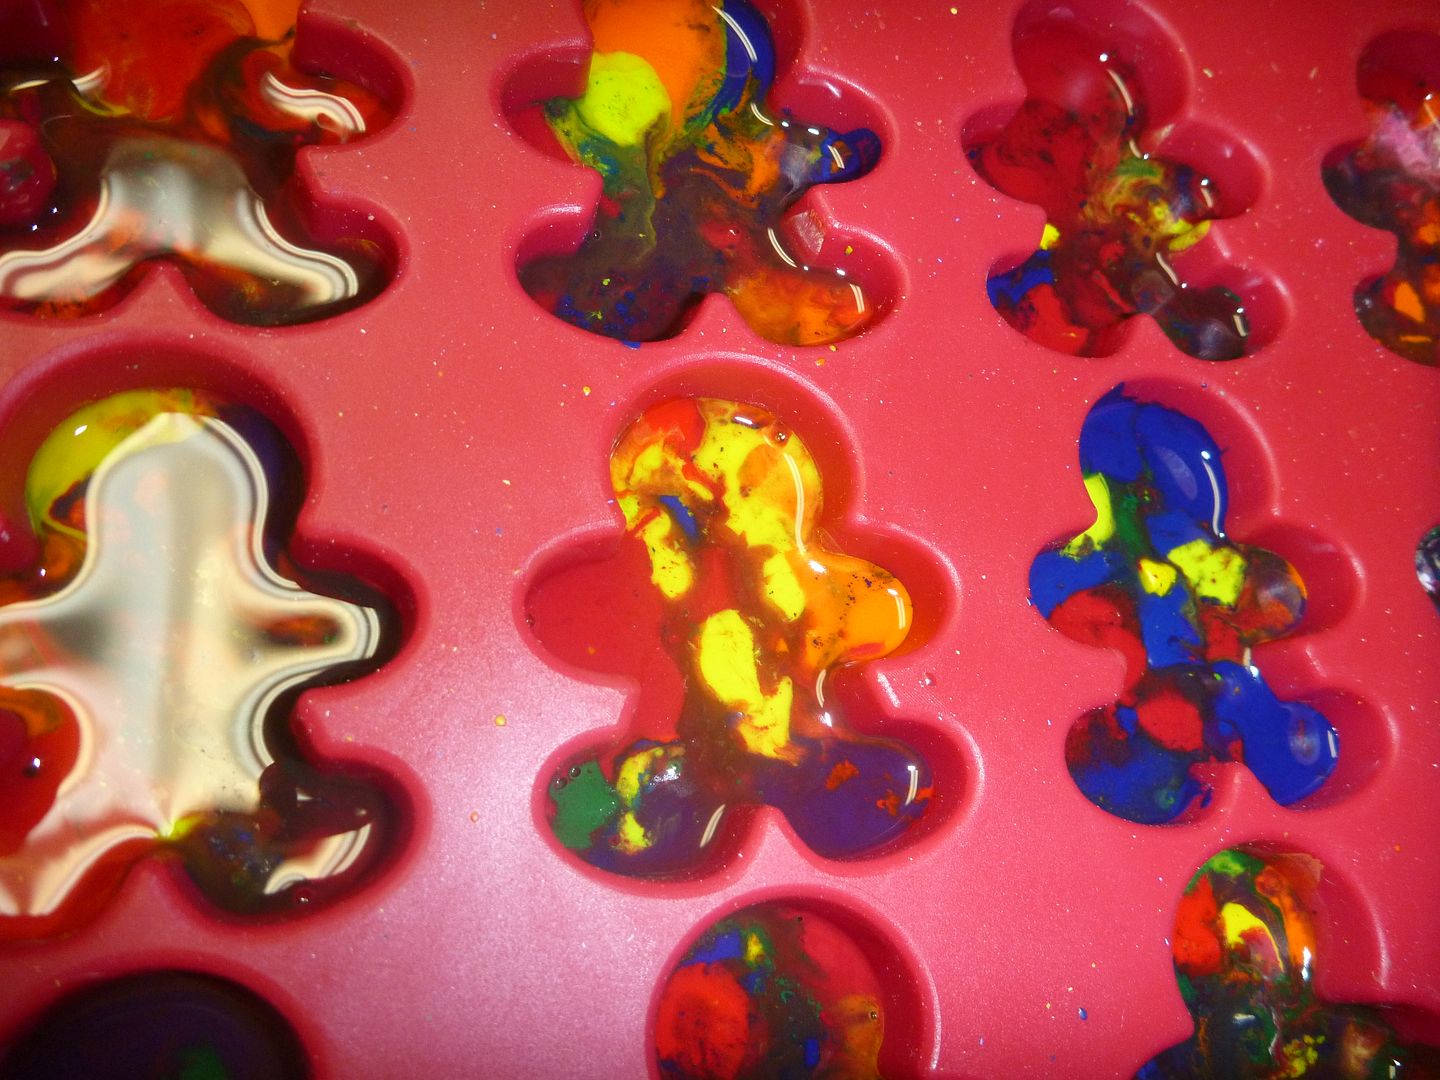
Here's a closer look at them. They are dried and cooled but look wet because of the light/camera flash.
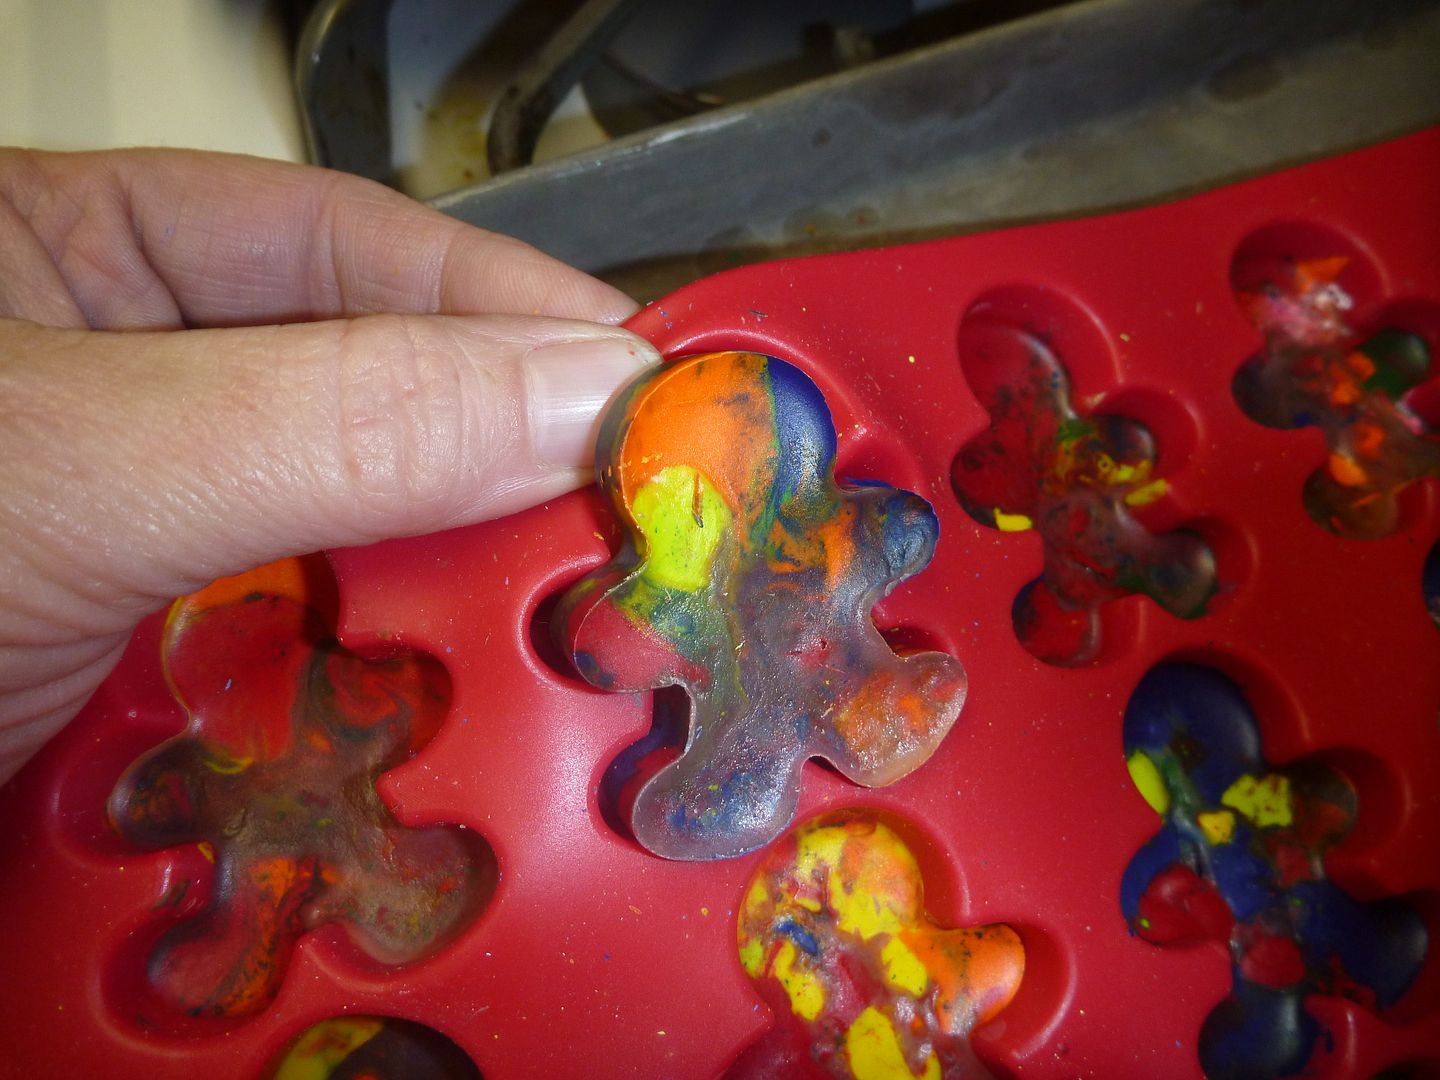
They popped right up from the mold and were a great turn-out!
1 comment:
OMG I LOVE your idea
They look GORGEOUS
Post a Comment